NOTICE: This post references card features that have changed, expired, or are not currently available
Here’s a quick tutorial for setting up the Altitude Reserve Card with Apple Pay. Since the card offers 3 points per dollar for mobile wallet payments, you’ll want it to be your default card…
1. Add Altitude Reserve to your iPhone Wallet
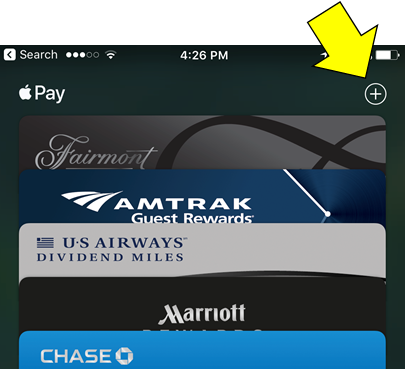
If your iPhone supports Apple Pay, then the Wallet app will be on your phone already. Find Wallet and open it (saying “Hey Siri, open Wallet” should do the trick). Then click the plus symbol in the top right corner to add a credit card to your Wallet.

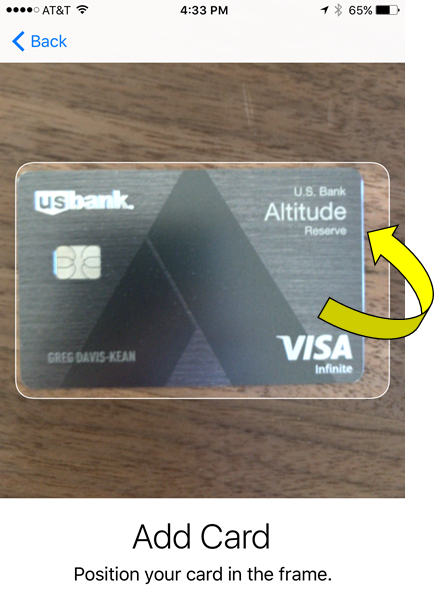
The Altitude card has it’s numbers on the back, so don’t scan the front like shown here (i.e. flip it over!)

2. Make the Altitude your default card
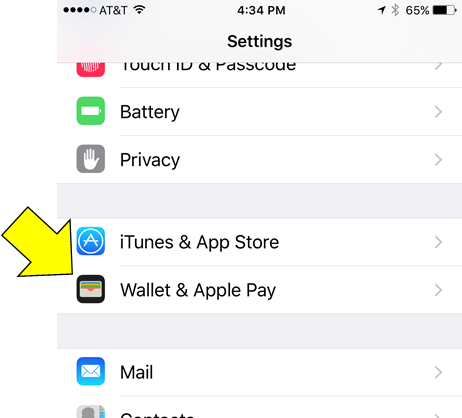
After adding the Altitude card to your wallet, go to your phone’s Settings (“Hey Siri, open Settings”), then scroll down and select “Wallet & Apple Pay”:

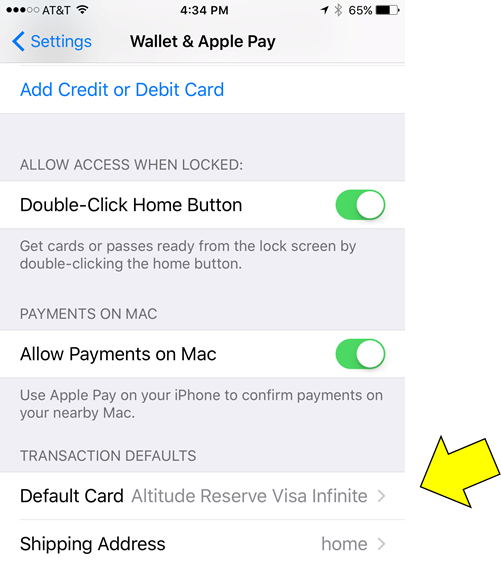
Within Wallet & Apple Pay settings, scroll down and select “Default Card”. Select the Altitude Reserve as your default card.

That’s it. Now when you pay with Apple Pay, the Altitude Reserve will be your default payment card. Any questions?


![Which Premium Cards are Keepers? [Updated w/ Strata Elite, Atmos Summit, and refreshed Platinum] Pile of credit cards with calculator on top](https://frequentmiler.com/wp-content/uploads/2025/06/Calculator-with-Credit-Cards-218x150.jpg)
This is helpful information. Thanks for posting it.
I still don’t understand why this needed an entire post.
[…] added it to my phone’s Apple Pay Wallet, and then I made it my default card within Apple Pay (instructions for doing so can be found here). On Saturday I successfully used Apple Pay at a pay-at-the-register restaurant, but two local […]