If you’re planning to visit the United Kingdom from the United States, you need to apply for an ETA (“electronic travel authorisation”) before your visit. It’s like an e-visa, but somehow not a visa. It only costs 10 GBP (About $13 USD) and it lasts for 2 years. Note that while this is very similar to the European Union’s ETIAS, ETA is needed for the UK while ETIAS will soon be needed for the rest of Europe (thanks Brexit).
I have a trip to London coming up and so I applied. While it didn’t take long, I was surprised by how challenging it was to get through a couple of the steps in the process. I’ll walk you through it below so that you can breeze past those issues. If you decide not to read further, at least remember this one thing (which the UK doesn’t seem to know): in US passports, the scannable electronic chip is in the inside back cover.

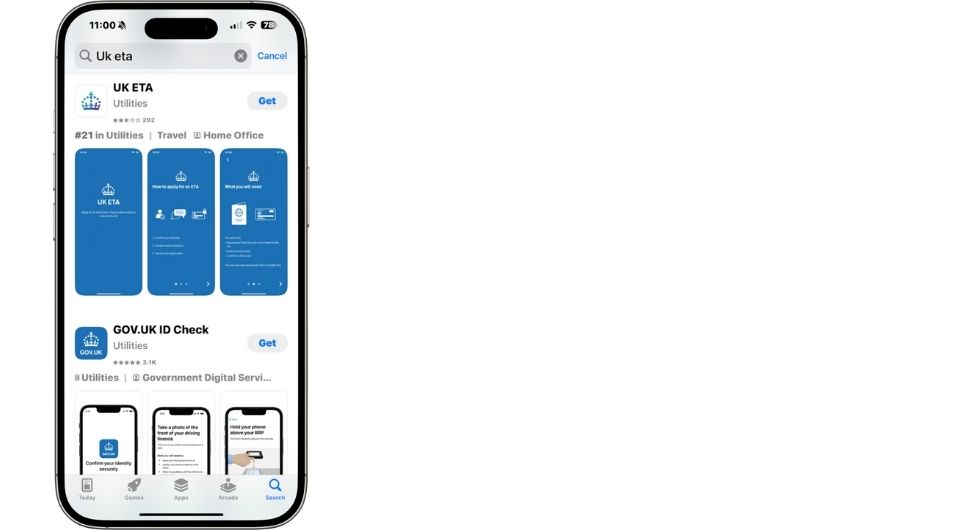
The first step is to find the smartphone app called “UK ETA”. The image below shows what it should look like in the app store:
When you start the app, it suggests that the process can be done in three easy steps:
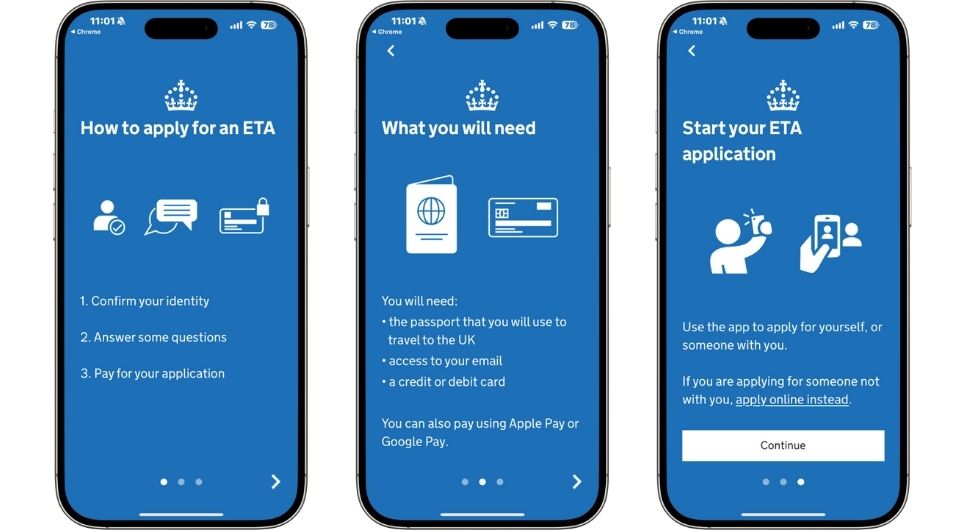
And the first steps were super easy:

But then I got to the “confirm your identity” step. This proved to be a little challenging (for me)…
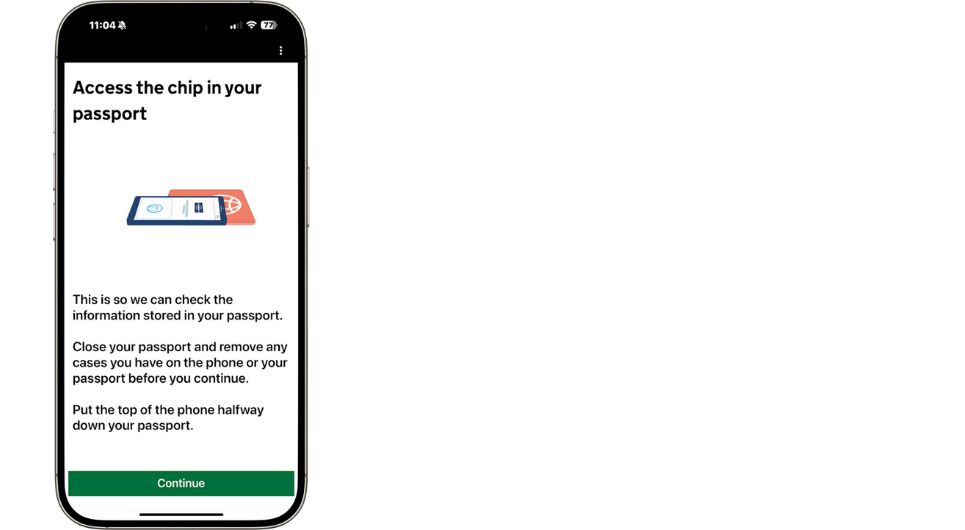
You can’t see this in the static image above, but the app showed the cell phone moving up and down over the passport’s front cover in order to scan the passport’s electronic chip. It didn’t work the first time. It didn’t work the second time. It didn’t work the eighteenth time. The app suggested turning over the passport and scanning the back. That didn’t work either. Finally, I Googled the problem and learned that in US passports, the electronic chip is in the inside back cover. I opened my passport to the end and scanned the inside back cover. It worked on my first try. Done!
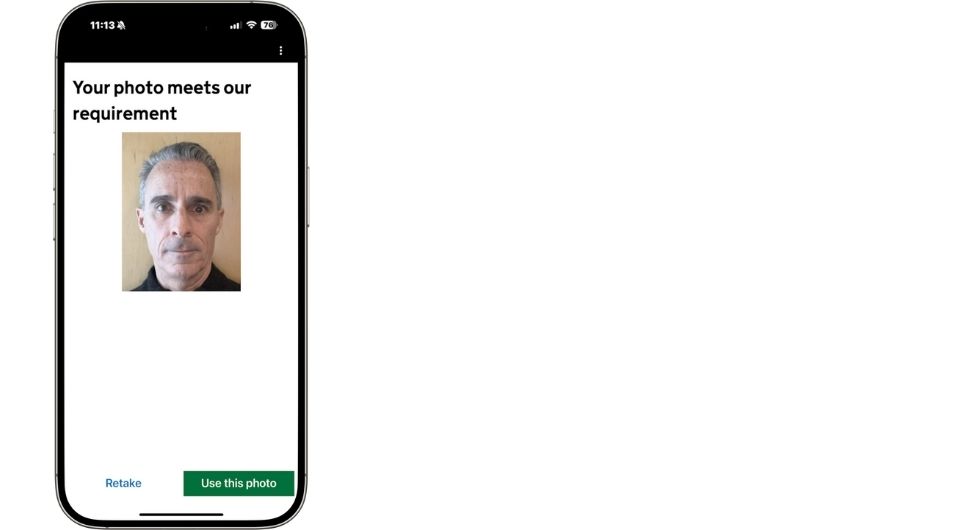
Next it was necessary to take a selfie. That should have been easy, right? The problem was that the app said to take the selfie with nothing behind me and no shadows on my face. I did my best to find such a spot for the selfie, but finding the right combination of a blank wall and even lighting was challenging. I tried with uneven lighting, but the app kept rejecting my photos. Finally I turned on the selfie-camera flash on my phone. That was the ticket. It got rid of the shadows that the UK ETA app was so resistant to.
Finally I got to the payment screen. I used Apple Pay and the payment went through without any issue.
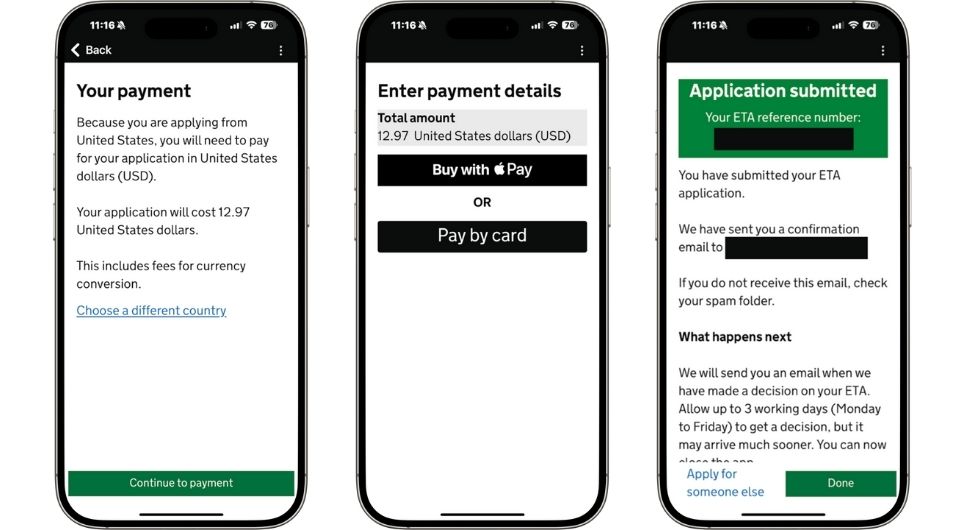
Seconds after finalizing payment, I received an email saying that my ETA application was approved! Since authorization is tied to the passport, It’s not necessary to show the ETA approval when entering the UK.


One more question, do they require you to remove your glasses for the photo? I have a very hard time taking a selfie without my glasses to see what I am doing.
I don’t remember for certain, but I don’t think so
Thanks Greg.
I just applied for the ETA. In the beginning it says the cost is 16 pounds. But at the completion of the form I would have to pay an additional 79.50 pounds to get the ETA. I guess I was on an official UK Government website. I did it on my computer. It l looks as though there may be an app that this can be done on. If so would I have only paid the initial fee of 16 pounds if I had the app? While I typing this post I got a reply back saying my application was approved. It did give a reference number but that was so quick. Like I said the approval came back in less the 1 or 2 minutes. That seems strangely quick. Maybe I am being a little paranoid. I trust that my application was received and processed by the correct authorities. I am not sure if I can confirm that. I will attempt to see if I can. If anyone out there can give me your thoughts I would appreciate it. Mark.
I thought I was on a UK government website and it had me download iVisa to get my ETA. Total cost: $112.82. I wish I had seen this page first!
I received my ETA from UK in my name but not in my partner’s name. I put all the information for my partner and paid for both of us. Will I get another approval with his name on it?
This was very helpful, thanks for the walkthrough! Saved some time.
They must have read your post since it was written, because as of today there is a note before you scan that says, “Open your passport to the back page and inside the front cover!”
Very useful article, thanks!
Joining the chorus of thank yous for this post. I’ll add that both myself and P2 had to take our phone cases off to get the chip reader to work. And P2’s ETA is only valid until his passport expires later this year. It’s attached to the passport, not the person.
Please note that, although no document (other than passport) is required for UK entry. an airline may require proof that you have an approved ETA. AA didn’t require anything when I left for trip to UK and Malta. but KM Malta did for my return to the UK . Fortunately I had a hard copy of the approval.
Good info!
Thank you Greg. Make sure to search for UK ETA in Apple Store to get correct app for your iPhone. A search for ‘British ETA’ did not yield the correct site.
Thank you for this info! Learning that the chip was on the inside back cover, and being able to make sure we were using the correct app made this process so easy!
100% about scanning US passport RFID chip but after about 6 fails, you can “skip” and enter/verify manually. Selfie is a problem. No matter how I framed the photo, the result was incorrect. Took six attempts to accept photo. Pro tip.
Be sure to use Gov.uk app. Many third party processors are charging $50-100.
This was amazing. It made the application SUPER easy. Thank you!
Thank you so very much!!! I had no idea the chip was inside the back cover. We did have an issue with getting my husband’s photo accepted but finally we met with success!
Thanks this was incredibly helpful!
Lucky you. I’ve been trying for **DAYS** with no success. The app simply times out over and over (and over and over) again.